
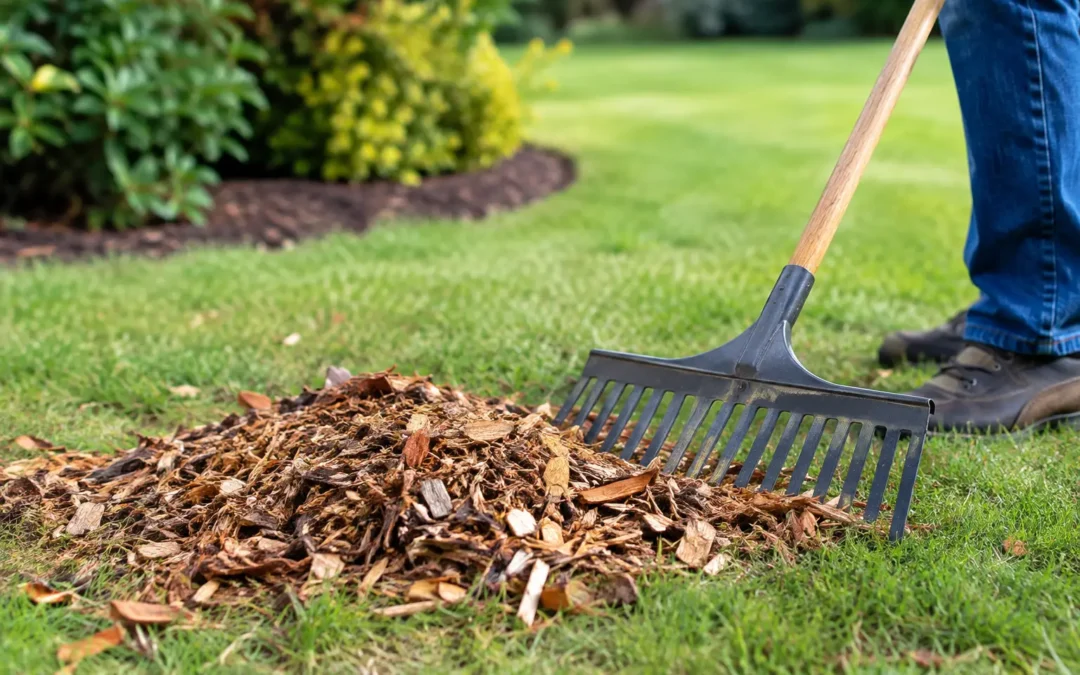
Fresh stump chips can look like an easy cleanup job until you try to rake them out of a shallow grinding hole. They are mixed with soil, tangled around surface roots, and often spread farther than expected. Knowing how to remove stump chips starts with deciding what the finished area needs to become: lawn, garden bed, planting space, patio base, or a clean construction site.
You do not always need to remove every chip. In some parts of a yard, the material is useful mulch. In others, especially where you want turf or a new tree, leaving a deep layer of chips can create settling, uneven ground, and poor growing conditions. The right approach depends on the plan for the space.
Start by deciding how the area will be used
A stump grinder reduces the stump and much of its root plate below ground level. Professional equipment with carbide-tipped teeth can grind the material to at least 10 inches below grade, producing a mix of woodchips and soil. That below-grade work removes the visible obstacle, but the remaining hole still needs to be finished for its next use.
If the area will become a mulched bed, you can usually keep a portion of the chips. Spread them in a shallow layer around established shrubs, but keep mulch away from trunks and stems. A layer that is too deep can hold excess moisture against plants and may attract pests.
For grass, remove most of the chip-heavy material. Woodchips break down slowly and can settle as they decompose, leaving a low spot in the lawn. They also tie up some nitrogen near the soil surface while they break down, which is not ideal for new grass seed.
If you are installing a shed, fence, walkway, patio, or other hardscape, remove chips from the work area completely. Organic material is not a stable base. It decomposes, shifts, and can compromise the level surface needed for construction.
How to remove stump chips safely
Let the chips dry for a day or two if conditions allow. Dry chips are lighter, less likely to cling to soil, and easier to sift. After rain, the pile can be surprisingly heavy and muddy, so waiting can save a great deal of effort.
Start at the outside edge of the grindings and rake the loose material toward the center. A steel garden rake works well for pulling chips together, while a flat shovel is useful for loading them into a wheelbarrow, yard cart, or sturdy bins. Work in layers instead of trying to lift the entire pile at once.
As you get closer to the bottom of the grinding area, separate the larger wood pieces from the soil as much as practical. You do not need to chase every small chip. The goal is to remove the bulk of the woody material, then rebuild the grade with clean topsoil.
Wear work gloves, safety glasses, and sturdy footwear. Even after grinding, chips can contain sharp splinters, small stones, and pieces of root. Keep children and pets away from the work zone, particularly if tools, tarps, or an open hole are involved.
For a typical residential stump, place a tarp beside the work area and shovel the chips onto it first. This keeps the lawn cleaner and makes it easier to move the material in one controlled load. It also prevents a trail of chips from spreading across driveways, sidewalks, and garden beds.
Do not bury a large pile of chips
It can be tempting to push the chips back into the hole, cover them with soil, and call the job finished. This is rarely the best solution for a lawn or planting area. As the chips decay, the ground can sink. The spot may become spongy, uneven, and difficult to mow.
A small amount of finely mixed material is normal after stump grinding. A large mound of woodchips buried below fresh sod is different. Remove the excess first, then use screened topsoil to restore a firm, level surface.
Reuse chips where they make sense
Stump chips are not the same as uniform bagged landscape mulch. They often include fine sawdust, chunks of root, and soil. That does not make them useless. It simply means they are better suited to practical landscape jobs than formal flower beds right beside the front entrance.
Use clean chips around mature trees, along naturalized paths, or in low-traffic areas where a rustic appearance is acceptable. Spread them no more than a few inches deep and leave a clear ring around plant stems. If the pile is large, let it age in a separate corner of the property before using it. Over time, the material will break down into a darker, more soil-like amendment.
Avoid using fresh stump chips directly in a vegetable garden or mixing a heavy amount into planting soil. As wood breaks down, it can compete with plants for available nitrogen near the surface. If you want to compost the material, combine it with nitrogen-rich green material such as grass clippings, then allow it time to decompose.
Do not spread chips from a diseased tree around healthy trees or shrubs. If you are unsure why the original tree was removed, treating the chips as waste is the more cautious choice.
Restore the hole after chip removal
Once the excess chips are gone, inspect the area for remaining roots, stones, and loose pockets of material. Minor roots below ground are usually not a concern, but exposed roots near the surface should be removed if they will interfere with lawn grading, paving, or planting.
Bring in clean topsoil and fill the hole in stages. Add a few inches, lightly tamp it with the back of a rake or your boots, then add more. Do not compact the soil so hard that water cannot penetrate, but do firm it enough to reduce future settling.
Finish with the soil slightly higher than the surrounding lawn. New fill naturally settles after rain and watering. A gentle crown now is preferable to a dip that collects water later.
For a lawn repair, rake the surface smooth, add grass seed suited to your site, and keep it consistently moist until it establishes. If you are laying sod, make sure the new soil is level with the surrounding grade so the edges do not dry out or create a tripping lip.
Replanting in the same spot takes planning
You can landscape over a ground stump, but planting a new tree in the exact same location is not always ideal. Old roots, remaining wood, and compacted material can limit the new tree’s root development. If space allows, plant the replacement tree several feet away from the former stump location.
For shrubs, perennials, or a garden bed, remove enough chips and roots to create a planting area with clean soil. Add compost or quality topsoil as needed, rather than relying on decomposing grindings to support new plants.
When professional cleanup is worth it
Small stump-chip piles are manageable for many homeowners. The work becomes harder when the stump was large, located beside a fence or building, or surrounded by landscaping that cannot be disturbed. Commercial properties and acreage sites may also have more material than a standard yard cart can handle efficiently.
Professional stump grinding should include a clear conversation about cleanup before work begins. Ask how deep the stump will be ground, whether the chips will be left on site, and what condition the area will be in when the crew is finished. Upfront answers help you plan for soil, sod, landscaping, or disposal without surprises.
At Stump Chomper, the goal is not simply to make a stump disappear from view. It is to leave the ground ready for the next practical step, whether that is reseeding, mulching, landscaping, or construction. A free, honest estimate can help clarify the scope before equipment arrives.
A clean finish does not require removing every speck of wood. It means removing enough chip material for the area to drain properly, stay level, and support what you want to do with your property next.