
A stump can be ground well below the lawn and still leave a job unfinished. The remaining woodchips settle, surrounding soil shifts, and the spot may become a shallow dip that catches water or makes mowing awkward. Knowing how to level stump ground properly turns a freshly ground stump area into usable lawn, garden space, mulch bed, or a clean base for a larger project.
The goal is not simply to pile dirt into the hole. A lasting repair accounts for the below-grade grinding depth, the wood material left behind, soil compaction, drainage, and the final use of the area. Take a little care at this stage and the former stump site should blend into the rest of the property rather than announcing itself every spring.
Start With a Properly Ground Stump
Leveling works best after the stump and major root plate have been professionally ground below finished grade. A shallow grind may look acceptable on the day of service, but it can leave hard wood close enough to the surface to interfere with a lawn mower, landscape edging, fence posts, or future planting.
Professional stump grinders use carbide-tipped teeth to break down the stump and surface roots into chips. For most yard uses, grinding at least 10 inches below ground level gives enough room to rebuild the area with suitable soil. It also removes the tripping hazard and opens up space that was previously difficult to mow or landscape.
Before adding soil, inspect the site. Look for exposed roots, solid pieces of stump wood, and large chunks that were thrown outside the main grinding area. Smaller chips are expected. Large pieces should be removed because they decay unevenly and can create low spots later.
If the stump was near a driveway, retaining wall, utility line, or building foundation, avoid changing the established grade without a plan. Moving soil toward a structure can create drainage issues. In those situations, match the surrounding grade carefully and keep water flowing away from buildings.
How to Level Stump Ground Without Creating a Sinkhole
After grinding, the hole commonly contains a mix of soil and woodchips. That material is useful in moderation, but it should not be the only thing supporting a new lawn. As woodchips decompose, their volume drops. If the area is filled mostly with chips and topped with a thin layer of soil, the ground can settle noticeably over the next year or two.
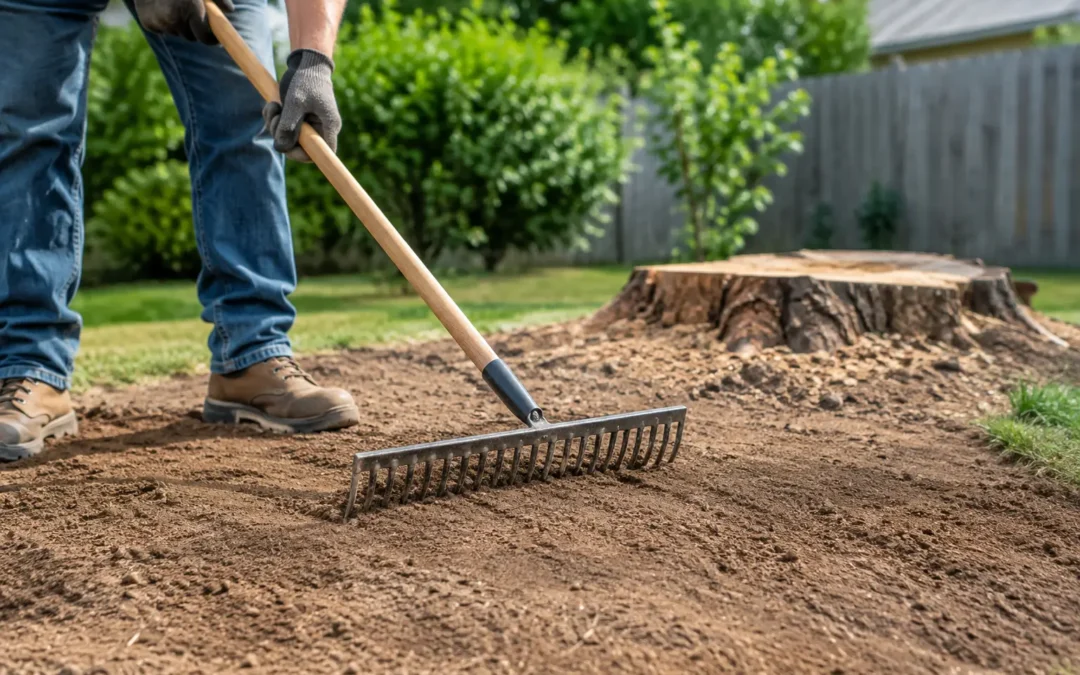
Start by raking the grindings back and removing enough of them to make room for soil. You do not need to remove every chip. A modest amount can stay in the bottom of the excavation, especially if the site will become a mulched planting bed. For turf, however, remove most of the loose grinding debris and any concentrated pockets of chips.
Bring in clean screened topsoil or a good lawn-and-garden soil blend. Fill the hole in layers rather than dumping in one large load. Add several inches, rake it level, and gently compact it with the back of a rake, a lawn roller, or careful foot pressure. Then repeat until the repaired area sits slightly higher than the surrounding ground.
That slight crown is intentional. Fresh soil settles, and any remaining organic material below it continues to break down. Raising the area about 1 to 2 inches above the adjacent lawn is often enough for a typical stump site. On a larger stump or an area with deep grinding debris, leave a little more allowance and check the grade again after a heavy rain.
Do not compact the soil so aggressively that it becomes hard and airless. Grass roots, garden plants, and water all need to move through it. The aim is firm, even soil that will not wash away or collapse under a mower wheel.
Check the Grade From More Than One Direction
Stand back and view the area across the lawn at ground level. A repair can look flat while still having a low edge or a hidden mound. Drag a straight board, landscape rake, or the flat edge of a shovel across the spot to identify high and low areas.
Water is a practical test. Lightly soak the repaired ground and watch where it flows. Water should move naturally with the existing yard grade, not pool in the old stump location. If it does pool, rake out the low point, add soil, and regrade before seeding or laying sod.
Choose the Right Finish for the Space
The best way to finish level stump ground depends on what the area needs to become. A former stump in the center of a lawn needs a different finish than one beside a shed or under a mature spruce tree.
For grass seed or sod
For a lawn repair, use topsoil that is free of large rocks, construction debris, and heavy clay clumps. Rake the final surface smooth, leaving it level with the surrounding lawn after allowing for expected settling. Seed can be spread over loosened soil and lightly raked in, while sod should sit firmly on a smooth, well-watered base.
Sod gives an immediate finished appearance, but seed is often easier to blend with an existing lawn. Either choice needs regular watering during establishment. Avoid driving a mower over the spot until the ground is stable and the grass has rooted well.
For a garden or mulch bed
A former stump area can make an excellent planting bed once it is level. Leave some woodchips below the surface, then add a deeper layer of quality soil where plants will grow. Keep fresh woodchips out of the immediate planting hole, especially for annuals and smaller perennials, because decomposing wood can temporarily use nitrogen near the root zone.
Mulch is a practical finish around shrubs, trees, and perennial beds. It hides small changes in grade, helps retain moisture, and makes future settling less noticeable. Keep mulch clear of plant stems and do not pile it against nearby tree trunks.
For a patio, shed, or construction area
Do not assume filled stump ground is ready to carry weight. Even after a deep grind, the remaining root zone and organic material may continue settling. A small garden bench may be fine, but a shed pad, paver patio, fence footing, or other permanent structure usually needs excavation beyond the old stump area and a properly compacted granular base.
This is especially true for large mature stumps. Their root systems can extend well beyond the visible stump, and disturbed soil may behave differently across the site. A contractor can assess whether additional excavation or base preparation is needed before building.
Watch for Settling During the First Season
Ground restoration is rarely a one-day, never-think-about-it-again task. Rain, snowmelt, and normal decomposition may reveal a dip after the initial leveling. Check the area several times during the first growing season, particularly after a heavy rain or after winter thaw.
If a low spot develops, top-dress it with soil rather than waiting for it to become a muddy depression. For lawns, spread a thin layer of soil across the area, rake it smooth, and reseed as needed. Several light applications are better than burying healthy grass beneath a thick layer all at once.
Also watch for new shoots around the old stump site. Some tree species can send up suckers from remaining roots. Regular mowing usually controls small shoots in turf, while repeated cutting or targeted management may be needed in a planting bed. Grinding removes the visible stump and much of the root plate, but it does not always guarantee that every living root will stop trying to grow.
When It Makes Sense to Call a Stump Specialist
Homeowners can handle basic raking, soil placement, and lawn repair. The job becomes more complicated when a stump is large, close to hardscape, tangled in surface roots, or located where grade affects drainage. Trying to dig out a root plate by hand can damage irrigation, utilities, nearby landscaping, and equipment while creating a bigger hole than expected.
A specialist can grind the stump to a practical below-grade depth, manage the woodchips, and leave the area ready for the next step. Stump Chomper provides clear estimates and careful cleanup so Edmonton-area property owners can move from an unwanted stump to a site prepared for reseeding, mulch, landscaping, or construction.
A level finish is worth the extra attention. Once the soil has been built up, shaped for drainage, and allowed to settle, the old stump site becomes part of the property again instead of a spot everyone has to mow around.