
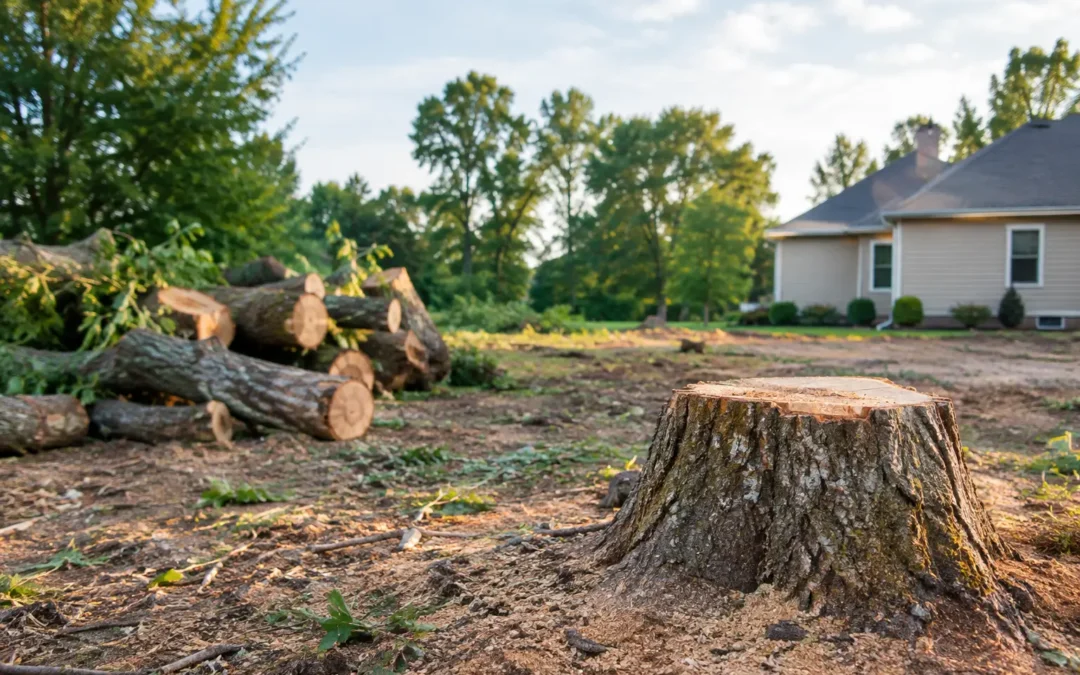
The tree is down, but the job is not necessarily finished. A fresh stump, exposed roots, rutted lawn, and pile of chips can leave a property looking worse before it looks better. This guide to tree removal aftermath explains what to deal with next, what can wait, and how to get your yard, acreage, or commercial grounds ready for the use you have planned.
A clean result depends on more than removing visible wood. The best next step changes with the site. A stump in a front lawn needs different attention than one beside a fence, under a future patio, or in a high-traffic commercial area.
Start With Safety and Site Cleanup
Walk the area before mowing, letting children or pets near it, or bringing in landscaping materials. Look for low-cut stubs, protruding roots, loose branches, holes left by equipment, and compacted soil. Even a stump cut close to ground level can catch a mower blade or become a trip hazard when grass grows around it.
Tree removal can also leave sawdust, small branches, and wood debris spread farther than expected. Gather what can be safely handled, but do not pull at roots or try to break apart a large stump with hand tools. Roots may be under tension, and buried utility lines, irrigation, or shallow landscaping features are not always obvious.
For commercial properties, apartment grounds, and rental homes, this is also the time to consider public access. Mark or block off the area until the stump and any major surface hazards are addressed. A temporary barrier is a simple precaution when people may be walking through the site after dark or when the ground is soft.
Decide Whether the Stump Needs Grinding
Leaving a stump in place may seem like the easiest choice, especially if it is out of sight. Over time, though, a retained stump can create ongoing maintenance work. It can interfere with mowing, take up usable space, attract insects, support fungal growth, and produce new shoots from the remaining root system.
Stump grinding is usually the practical option when you want a lawn, garden bed, pathway, fence line, parking area, or building site to be usable again. A specialist grinder uses carbide-tipped teeth to work through the stump and root plate, reducing the material below the soil surface rather than simply cutting the stump lower.
For most landscaping purposes, grinding to at least 10 inches below grade provides enough clearance for topsoil, sod, mulch, or a new planting plan. If construction is planned, tell the operator before work begins. A shed pad, driveway expansion, retaining wall, or concrete work may require a different approach because roots and organic material can affect a stable base.
Grinding Is Not the Same as Full Root Excavation
Property owners sometimes expect every root to be removed from the yard. That is rarely necessary and can cause much more disruption to the lawn, nearby trees, and soil structure. Stump grinding focuses on the stump and main root plate, leaving smaller roots to decay naturally underground.
This is generally the right trade-off for established lawns and landscaped areas. Full excavation may be appropriate for certain construction projects, but it involves heavier disturbance, more soil replacement, and often a larger restoration job afterward.
Make a Plan for Woodchips and Grindings
Grinding produces a mixture of woodchips and soil. This material is useful, but it should be handled with a plan instead of being spread automatically across the lawn.
If you are creating a mulch bed around shrubs or trees, woodchips can help retain moisture and reduce weeds. Keep mulch away from trunks and do not pile it deeply against plant stems. Thick layers can hold too much moisture and invite decay or pests.
For lawn restoration, remove enough of the chip mixture to make room for clean topsoil. Grass seed needs contact with soil, not a loose layer of woody material. Chips mixed into a future vegetable garden are also best used cautiously, because fresh wood material can temporarily tie up nitrogen as it breaks down.
Some property owners choose to keep a portion of the chips for pathways or naturalized areas and have the rest removed. The right choice depends on how much material is produced, the size of the stump, and what the site will become next.
Restore the Ground in the Right Order
After grinding, the area may look level at first but settle as remaining roots and wood fibers decompose. Avoid treating it as finished the moment the grinder leaves. Add clean topsoil slightly above the surrounding grade, then rake it smooth so it can settle naturally without becoming a dip in the lawn.
For a lawn, seed or sod can follow once the ground is prepared. Seed is often a practical choice for a larger or irregular area, while sod gives a quicker finished appearance when the surrounding lawn is already established. Either way, consistent watering matters more than most people expect during the first few weeks.
If the area will become a garden bed, use the stump location as an opportunity to improve the soil. Add topsoil and compost as needed, but allow for settlement before placing expensive perennials or hardscape edging. A simple temporary mulch layer can keep the area tidy while the ground stabilizes.
Watch for Settling and Suckers
Check the site through the next growing season. A shallow depression may appear as underground wood breaks down, particularly after heavy rain or spring thaw. Topping up with soil is normal maintenance, not a sign that the grinding was unsuccessful.
Some tree species may also send up suckers from roots outside the original stump area. Mow or cut these shoots promptly while they are small. Persistent suckering may require repeat attention, but removing the stump and main root plate eliminates the central source of the problem.
Consider Nearby Utilities, Fences, and Structures
Tree removal aftermath is more complicated when the stump sits close to a house, garage, utility pedestal, fence, deck, or underground line. Grinding equipment is designed for controlled work, but access and clearance affect what can be safely reached.
Be clear about the location of irrigation lines, landscape lighting, invisible pet fences, septic components, and private utilities before any grinding begins. Utility locates address many buried services, but property-installed lines and features are often the owner’s responsibility to identify.
Fences and garden borders also deserve a close look. In some cases, grinding near them is still straightforward. In others, limited access or the risk of damaging nearby materials means the work should be adjusted. An honest site assessment is better than forcing equipment into a tight spot and creating a more expensive repair.
Know When Replanting Makes Sense
You can plant near a former stump location, but planting a new tree in the exact same spot is not always ideal. Remaining roots, compacted soil, and settling ground can make establishment harder for a young tree. Moving the new planting a few feet away often gives it better soil and more room to develop.
Shrubs, lawn, and shallow-rooted garden plants are usually easier to establish after the site has been filled and leveled. If you are replacing a mature tree for shade, privacy, or curb appeal, consider the mature size of the new species, overhead lines, drainage, and the distance from buildings before choosing its location.
Leave the Site Ready for Its Next Use
The best tree removal aftermath plan is tied to what you want from the property next. A homeowner may want a smooth lawn that is safe to mow. An acreage owner may need access for equipment. A property manager may need a clean, low-risk walkway edge before tenants or customers return. A contractor may need clear ground for a new structure.
That is why stump grinding should be treated as part of site restoration, not an afterthought. Stump Chomper uses specialist grinding equipment with carbide-tipped teeth to reduce stumps below grade and leave properties ready for reseeding, mulching, landscaping, or the next phase of work. The goal is straightforward: remove the obstacle, manage the cleanup, and give the ground a useful future.
Before you cover the area with seed, sod, or mulch, take one last look at grade, drainage, and intended use. A little care at this stage helps the former tree site disappear into the rest of the property instead of becoming the spot you keep working around.